

Instructions
Instructions for uploading photos to your profile
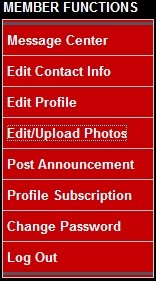
- Go to “Member Functions” and select “Edit/Upload Photos”
- You will now be in a section called Photos for Your Name
- Select the “Upload New Photo” button ----
Leaving the web site at this time
- The following menu will appear to the right of your current image screen (initially blank)
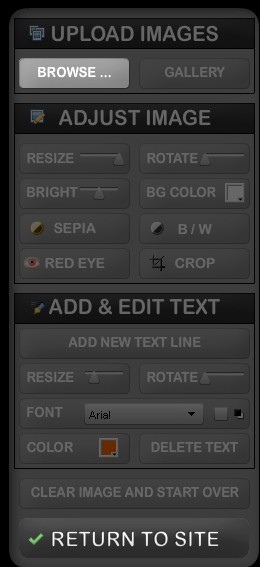
- Select the “BROWSE…” button under “UPLOAD IMAGES”. At this point you can navigate to the directory your photos are in (on your computer, usually *.jpg format). Select the image you want to upload.
- Once uploaded, you have several options under “ADJUST IMAGE”. Notice there is a “CROP” tool to select portion you want to select out of the entire picture. When you hold the cursor over the buttons the instructions for that button appear.
- You can “ADD & EDIT TEXT” with several options.
NOTE: The text you add here is part of the image itself. Back on the web page you can add additional text the will appear under the photo.
Back on the web site:
- You can make one of your photos your “Master Photo”. Read about “Master Photo” at the bottom of the web page.
- At any time you can go back in and “edit” any of your uploaded photos. Selecting the “Edit Photo” button under a photo will bring up the same menu above. Instead of the Image Screen being blank, it will contain the image you are going to edit. All of the “ADJUST IMAGE” and “ADD & EDIT TEXT” options are available.
NOTE: If you select the “Upload New Photo” button again, the image screen will be filled with all of your current images.